
3.0
Owner's of the Uniflame Fire Pit Uniflame Uf Lp Gas Column Firepit gave it a score of 3.0 out of 5. Here's how the scores stacked up:


Need help? 1.800.762.1142
Do not return to place of purchase.
Replacement Parts
parts.BlueRhino.com /
1.800.762.1142
page no.
5
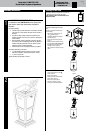
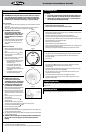
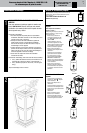
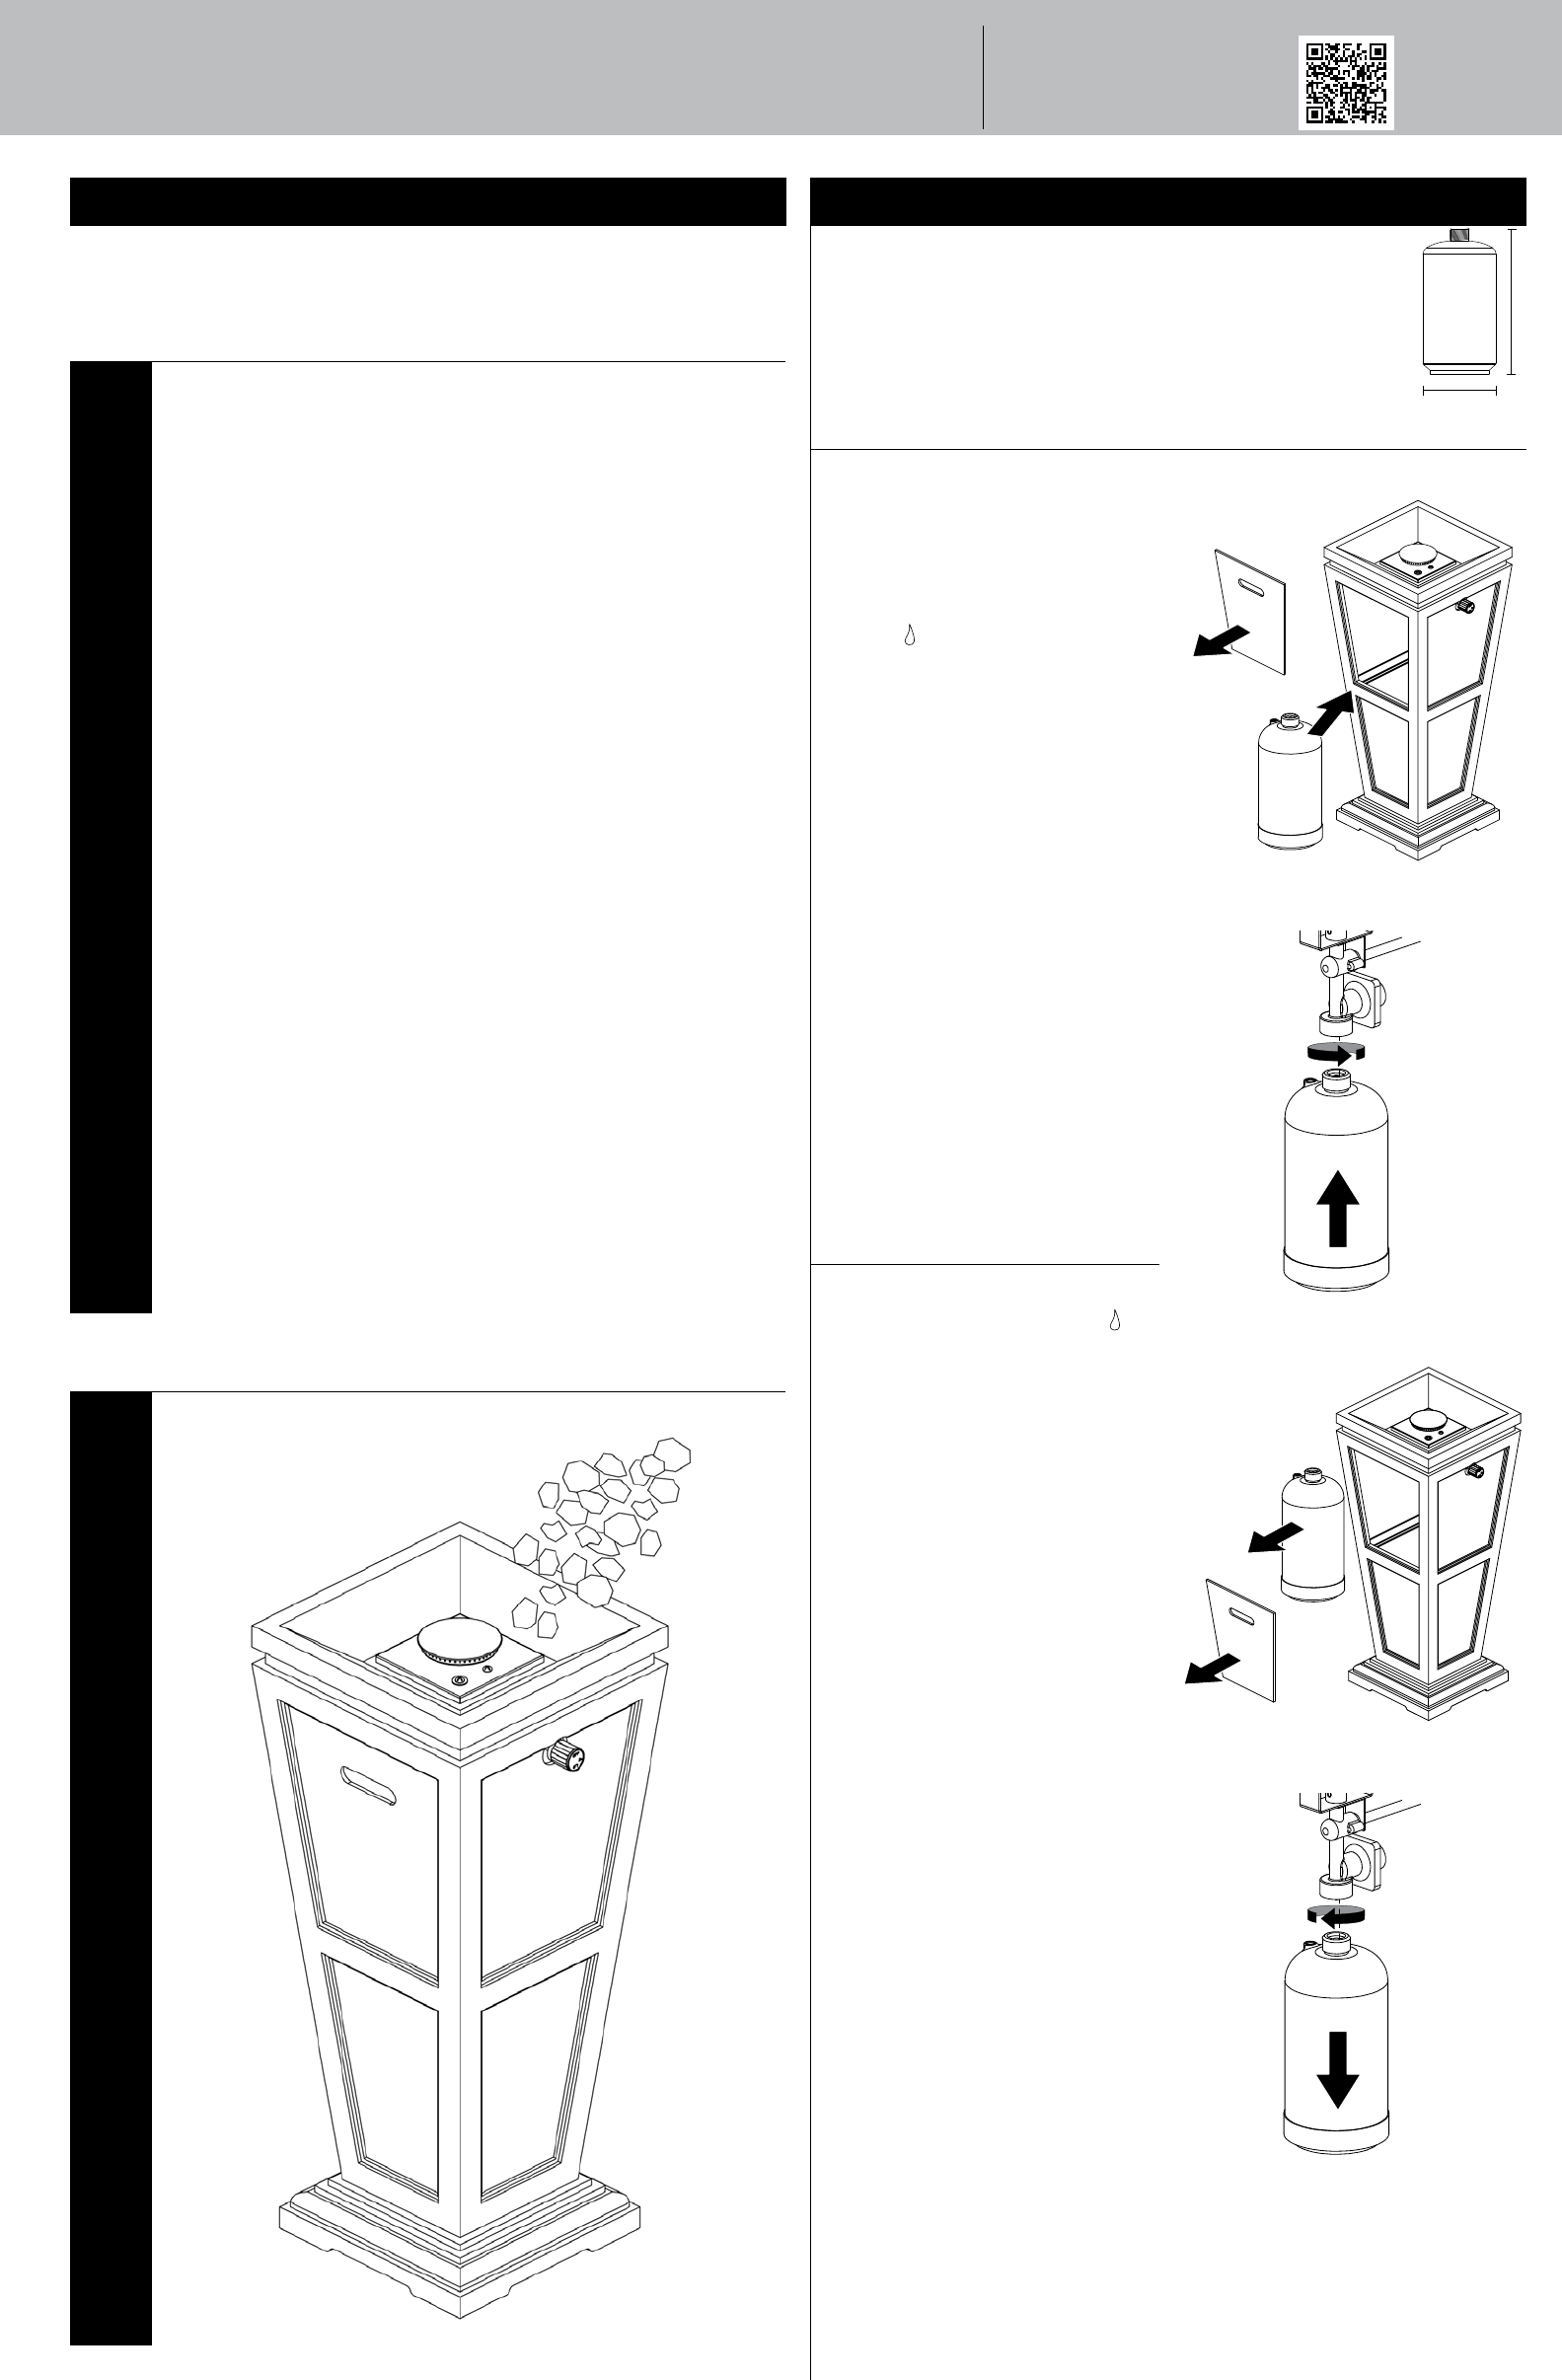
Installing LP Gas Tank
This fireplace is designed to operate with a one pound 16.4
oz. disposable propane gas tank (DOT 39 Cylinder).
DO NOT ATTEMPT TO REFILL ANY ONE POUND (16.4 oz.)
PROPANE GAS TANKS!
Connect LP Gas Tank
Only cylinders marked “propane” may be
used.
Note: Some 1-lb cylinders may form frost
when near empty.
1. Make sure the control knob is in the
“OFF
” position. (Figure 6)
2. Lubricate the threads of the regulator
with petroleum jelly.
3. Remove door and insert LP gas tank.
(Figure 1)
4. Rotate LP gas tank clockwise until they
fit snugly together. HAND TIGHTEN ONLY.
Be careful not to cross threads when
screwing in canister. (Figure 2)
5. Test for leaks. See “Checking for Leaks”
section.
Disconnect LP Gas Tank
1. Turn the control knob to the “OFF ”
position. (Figure 2)
2. Remove door. (Figure 3)
3. Rotate LP gas tank counterclockwise
until it is loose. (Figure 4)
4. Remove LP gas tank. (Figure 3)
5. Store the LP gas tank in a proper
location, per LP gas tank instructions.
1
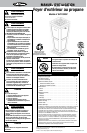
DO NOT RETURN PRODUCT TO STORE.
For assistance call 1.800.762.1142 toll free. Please have
your owner’s manual and model number available for
reference.
For Easiest Assembly:
• To avoid losing any small components or hardware, assemble
your product on a level surface that does not have cracks or
openings.
• Clear an area large enough to layout all components and
hardware and that is soft so as to not scratch or damage any
surface finishes.
• When applicable, tighten all hardware connections by hand
first. Once the step is completed go back and fully tighten all
hardware while being cautious not to over tighten to avoid
damaging surfaces or stripping hardware.
• Follow all steps in order to properly assemble your product.
To complete assembly you will need:
• (1) Leak Detection Solution (Instructions on how to make
solution are included in “Operating Instructions” section)
• (1) 16.4 oz LP gas tank.
Typical assembly: approximately 5 minutes.
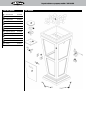
Assembly Instructions
2
Insert Glass Rocks
1 lb
453 g
7.75 in. / 19,7 cm
3.875 in. / 9,8 cm
Figure 1
Figure 2
Figure 3
Figure 4


Find Your Products By Category
Please Login
